Common Mistakes in Model Building (And How to Avoid Them)
Rushing the Process
One of the most common mistakes new model builders make is trying to finish a project too quickly. Enthusiasm often leads to skipping steps or not allowing materials to dry or cure properly. This can result in poor structural integrity, misaligned parts, and visible flaws in paint or decals. Patience is key to achieving a polished, professional result. Every stage—from planning to assembly to finishing—deserves full attention and care.
To avoid this, break your project into smaller, manageable phases. Allocate time for each step, and resist the urge to multitask. Read the instructions thoroughly before starting, and dry-fit pieces before gluing. Allow adequate drying times between paint layers and adhesive applications.
Ignoring Surface Preparation
Another frequent error is overlooking the importance of surface preparation. Many builders dive straight into assembly or painting without cleaning parts or sanding connection points. Mold release agents, oils from your hands, or tiny burrs on the plastic can all interfere with adhesion and paint application.
Always wash your parts in mild soapy water and let them dry completely. Use fine-grit sandpaper or hobby files to remove flash lines and improve fit. This step not only improves the model’s final appearance but also ensures that glue and paint adhere more effectively.
Using the Wrong Glue or Too Much of It
Glue choice—and how it’s applied—can make or break your model. Beginners often apply too much glue, resulting in excess seeping out of joints, melting plastic, or clouding transparent parts like windows or canopies. Others may use the wrong type of adhesive for the materials involved, causing weak bonds or visible staining.
Use plastic cement for styrene models and cyanoacrylate (super glue) for resin or metal parts. Apply glue sparingly with a precision applicator or fine brush, and always test on a hidden area first. Less is more when it comes to adhesives. If you’re working with clear parts, use specialized clear part cement that won’t fog the surface.
Neglecting Paint Preparation and Application
Poor paint jobs can ruin an otherwise well-assembled model. Mistakes often include using unshaken or unthinned paint, painting directly from the bottle, or failing to use a primer. These errors lead to streaks, uneven coverage, or paint that doesn’t stick properly.
To avoid this, always stir or shake your paints thoroughly. Thin them as recommended by the manufacturer, especially for airbrushing. Use primer appropriate to your material and color scheme—it helps paint adhere and reveals flaws to fix before finishing coats. Practice painting techniques on scrap plastic or unused parts until you’re confident in your control and consistency.
Misplacing or Damaging Decals
Decals add critical detail, but they can also be tricky. Common mistakes include misaligning them, applying them to rough surfaces, or failing to set them properly—resulting in bubbles, silvering, or peeling edges.
Ensure the surface is smooth and glossy before applying decals. Use a decal setting solution to soften them so they conform to panel lines and contours. Blot gently with a damp cloth and avoid dragging. Once dry, seal decals with a clear topcoat to protect them and integrate them into the paintwork.
Disregarding Scale Accuracy
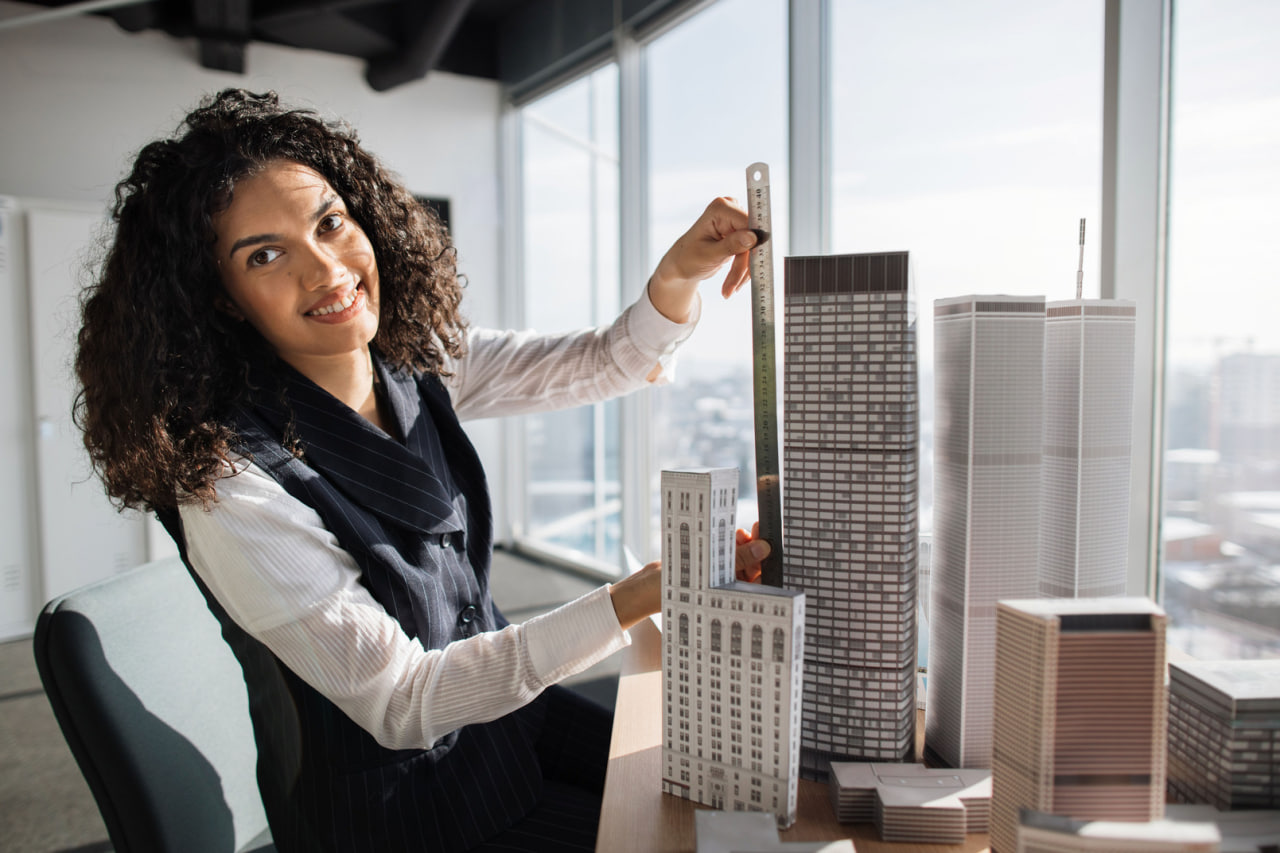
Another pitfall is disregarding scale consistency. Some modelers mix accessories, figures, or scenery that don’t match the model’s scale, breaking the sense of realism. This mistake can disrupt the narrative of a diorama or make the model appear distorted or cartoonish.
Always verify that aftermarket parts, figures, and materials match the kit’s stated scale. When in doubt, compare measurements or consult references. Sticking to consistent scale details maintains immersion and authenticity.
Poor Lighting and Workspace Organization
Building in poor lighting or a cluttered environment leads to overlooked errors and lost pieces. Tiny parts can go missing, and eye strain can make fine details harder to see and execute.
Invest in a bright, adjustable desk lamp with a daylight bulb. Organize tools and components in trays or containers, and keep your workspace clean and distraction-free. A cutting mat and a set of labeled drawers or bins can help streamline the process and prevent mistakes.
Not Researching the Subject
Modelers who build military vehicles, historical aircraft, or real-world buildings often make factual errors by not doing adequate research. This can result in inaccurate colors, markings, or configurations.
If historical accuracy is important to your project, spend time researching your subject. Look for reference photos, technical drawings, and modeler forums. Many manufacturers make errors in kit instructions, so cross-check with reliable sources when accuracy matters.
Skipping Weathering or Overdoing It
Weathering adds realism but can be a double-edged sword. Skipping weathering entirely can leave your model looking sterile, while excessive weathering may obscure detail or appear unrealistic. Many beginners either avoid it due to fear or apply it too heavily without understanding the subtleties.
Start with light weathering—such as washes, dry brushing, or pastel shading—and build up gradually. Use reference images to guide your application and aim for believable wear based on how the real object would age or operate. Less is often more when it comes to achieving convincing effects.
Not Learning from Mistakes
Perhaps the most significant mistake is being too critical or giving up after errors. Model building is a learning process. Even experienced builders make missteps. The key is to analyze what went wrong, research how to correct it, and try again with new insight.
Keep a project journal or take progress photos to document techniques and outcomes. Join online communities to seek advice or share your progress. Embrace mistakes as part of your growth—each one adds to your skill set and future success.


